
- Englishen
- Deutschde
- Españoles
- Françaisfr
OUT OF YOURSELF AND INTO THE TEAM
Correctly assembling your scuba diving equipment is a critical skill for every diver. Whether you’re a beginner or a certified diver returning to the water, following the proper order and completing a full buddy check helps prevent problems before they happen.
In this guide, we’ll walk you through:
•The correct order to assemble scuba gear
•How to do a proper buddy system check before entering the water
Order matters — always begin with the tank.
Steps:
1.Place the tank upright on a stable surface.
2.Check the tank:
•Ensure it’s secured with a protective boot.
•Confirm the air is full (check pressure later).
•Briefly open the valve to clear dust or moisture (“crack the valve”).
3.Make sure the valve O-ring is present and in good condition.
✅ Tip: Never point the valve toward yourself or others when cracking it
1.Slide the BCD over the tank.
2.Position it so the tank valve sits just behind your head (not too high).
3.Tighten the tank strap firmly — the BCD should not slide.
4.Secure any additional safety straps.
✅ Check: Lift the BCD by the shoulder straps to ensure it’s firmly attached
1.Remove the dust cap from the first stage.
2.Align the first stage correctly:
•Primary second stage hose on the right
•Alternate air source on the left
3.Place the first stage over the tank valve.
4.Tighten the yoke screw or DIN connection snugly (hand-tight only).
1.Slowly open the tank valve fully, then turn it back slightly.
2.Watch the pressure gauge as it fills.
3.Listen for leaks
•Take a few breaths from:
•Primary regulator
•Alternate air source (octopus)
•Press the purge buttons gently.
•Ensure breathing is smooth and easy.
⚠️ Never breathe from a regulator without air pressure.
1.Attach the low-pressure inflator hose.
2.Inflate the BCD fully using the power inflator.
3.Deflate it using:
•Power deflate
•Manual dump valves
4.Ensure all buttons work smoothly.
Attach any optional or required gear:
•Weight system
•Dive computer
•SPG (pressure gauge)
•Compass
•Surface marker buoy (SMB)
•Underwater torch
•Mask and fins (kept nearby)
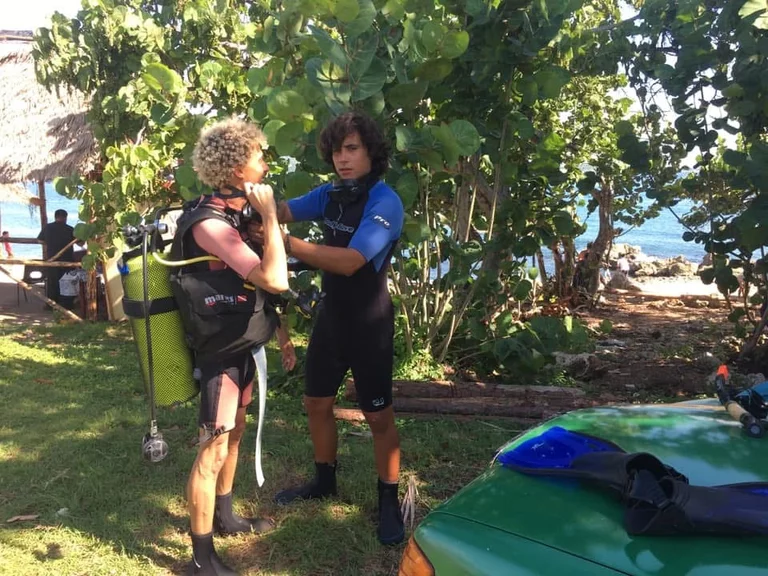
Before entering the water, always perform a buddy check. A common method is BWRAF (also called ABCDE).
•Inflate and deflate your buddy’s BCD
•Check dump valves
•Confirm tank strap is secure
•Confirm correct weight amount
•Ensure weight system is secure
•Verify quick-release works and is accessible
•Check all buckles, straps, and clips
•Ensure nothing is twisted or loose
•Check tank pressure
•Fully open the valve
•Breathe from both regulators while watching the pressure gauge
•Mask, fins, computer, accessories
•Nothing dangling
•Agree on dive plan, signals, and maximum depth
Most dive issues are preventable on the surface. Taking a few extra minutes to assemble your gear correctly and check each other:
•Increases safety
•Builds confidence
•Ensures a relaxed and enjoyable dive
At Scuba Vida Dive Center, we guide every diver through proper setup and checks before every dive — because safe divers are happy divers.
If you’d like hands-on guidance assembling your gear or prefer guided scuba diving in Varadero led by certified dive instructors in Cuba, contact Scuba Vida and dive with confidence 🌊